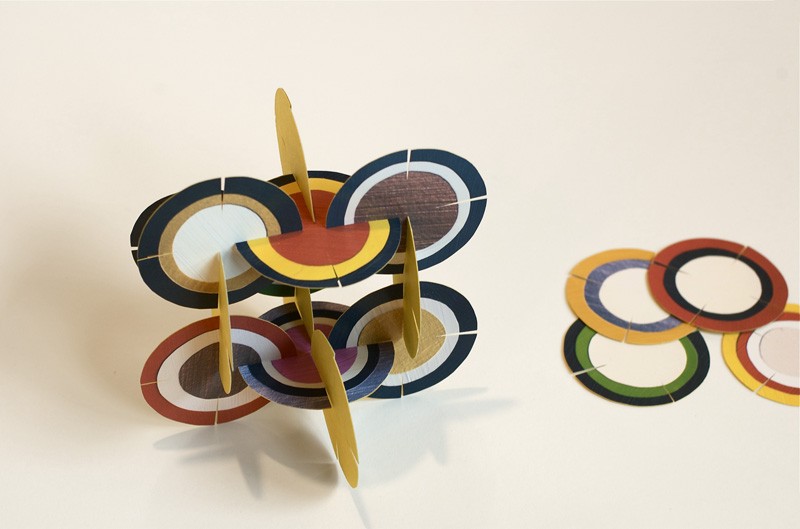
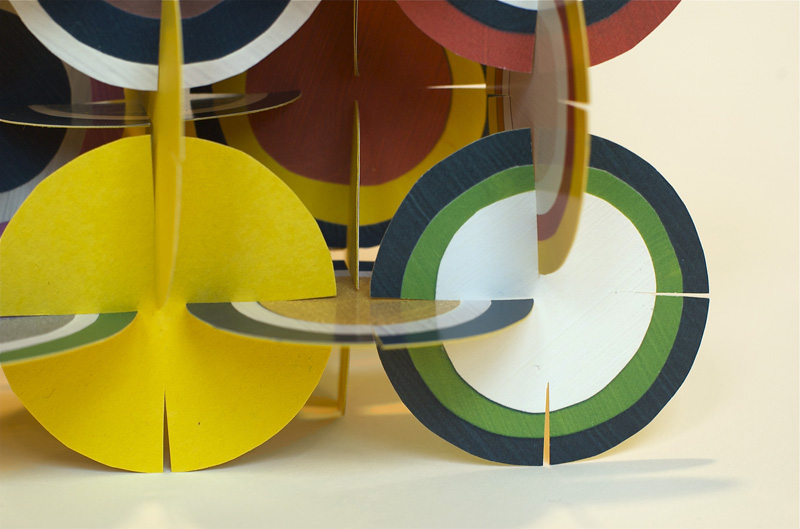
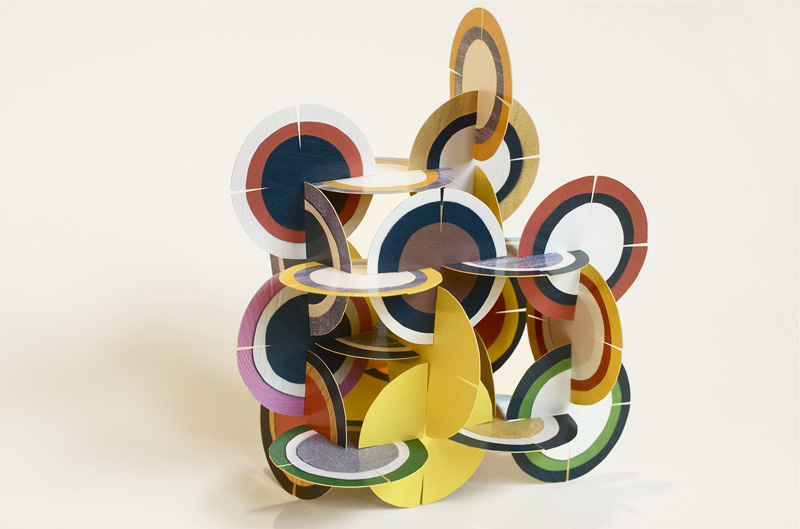
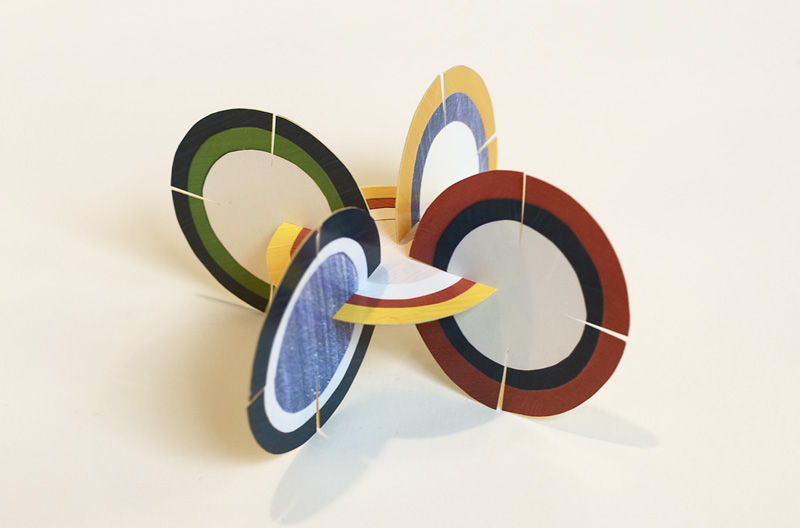
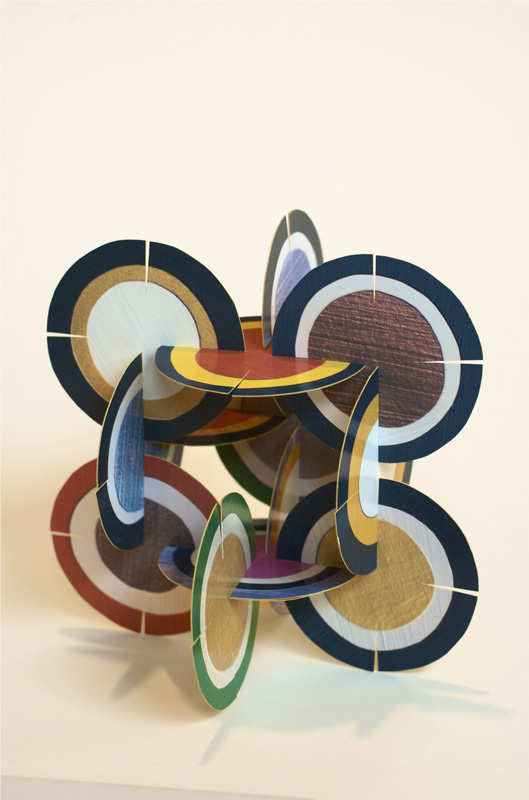
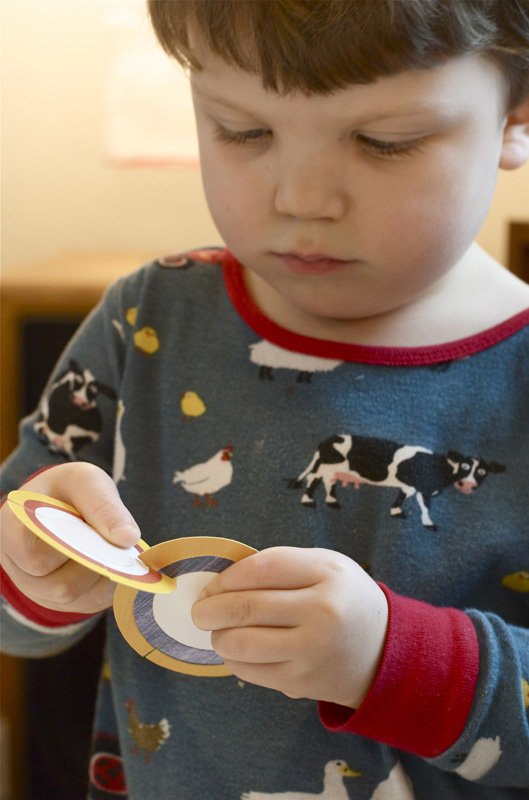
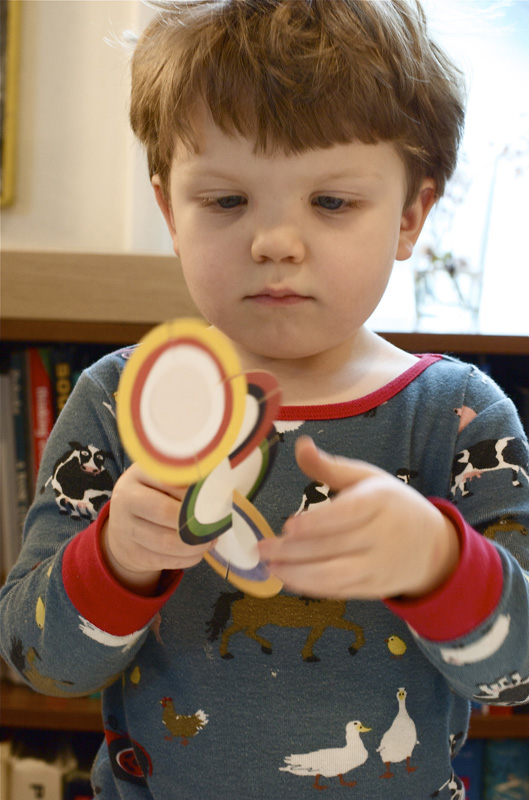
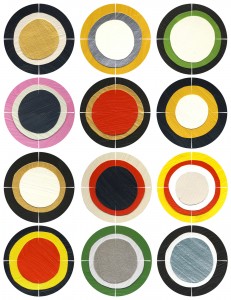
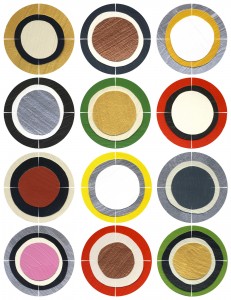
While reading the December issue of Art Forum Magazine, I came across a brilliant Damián Ortega sculpture made of tortillas. Of course I immediately wished I could play with them. So I scanned some recent collage circles I’d made, printed them out, and made these building discs. It’s surprisingly tricky to build with them, but amazingly addicting. If you have older kids, they will definitely be challenged. Jack and Tess are having a great time with them too, but their structures are much more simple.
If you’d like to make some, you can download and print out my template at the bottom. My photo paper wasn’t very thick, so I used a glue stick to glue a sheet of yellow construction paper on the back. Then after it dried I cut them out with scissors. They are surprisingly sturdy with the extra paper on the back. I think they’ll last quite a while.
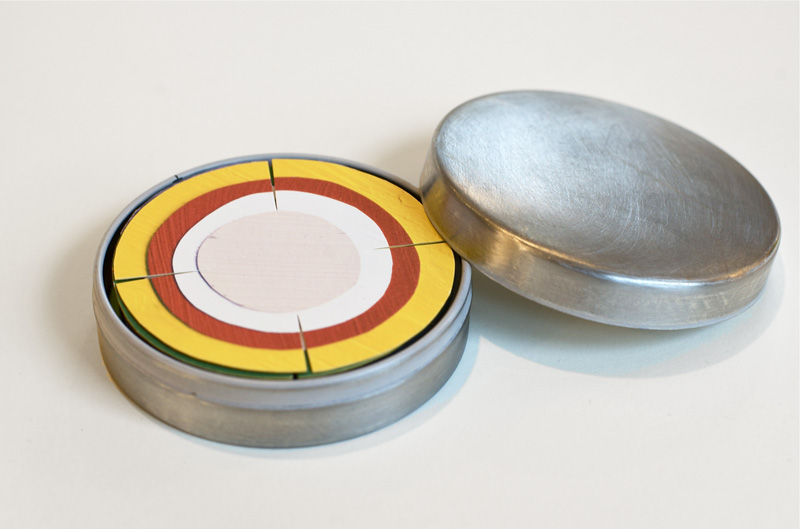
I also took some sandpaper to an old circular candy tin, and they fit in there perfectly. I’ll definitely take them next time we go to a restaurant.
Templates: (Click on each images below, then print.)

beautiful
you are a genius
great and beautiful project. i love how you can store them in a small tin and take them on-the-go.
my construction addicted boys will love these. Thanks
everything you do is so wonderful, it hurts. (which I only mean in the nicest way possible) We also love to bring little toys to the restaurant–frankly, I am always surprised by parents who do not. We keep a small backpack filled with a few evolving items that our son does not get to lay with EXCEPT when we go to the restaurant–keeps the toys interesting to him since we do not eat out a lot. But the toys do provide a nice respite so my husband and I can actually enjoy a glass of wine and some adult conversation. This one will definitely need to go in the backpack too. Thanks, Joel.
Thank you for the templates! The candy tin packaging is the perfect finish.
Thank you for saving my weekend. My boys will love it.
Greetings from Germany
C'est vraiment une super idée.
Merci pour les templates.
I also bring little toys for my daughter when we go to the restaurant, and I'm sure that your building disc will have a great success! Thanks so much for sharing!
They are great! They will be my easter present for my little nephew. Thanks for sharing!
So awesome. They remind me of the Eames house of cards but only better. You could probably use chip board like this http://store.scrapbook.com/bb-bcc175.html to make an even sturdier version.
It would also be cool to cover the circle with patterned paper (scrapbook paper, magazine pages, old books, etc.
definitely adding this to my list of things to make.
I've been checking out your blog for a while and I love it. Thanks for sharing all these wonderful projects. You are incredibly creative
forget the kids, i'm making this for *myself*.
que buena idea!!! especialmente con esta primavera lluviosa (que se puede esperar en Portland, no?) con niños que ya se cansaron de los juegos y sienten la tentacion del Wii 24/7… gracias!
Once again, totally awesome. I'm making them for me, too! I also love the idea of using old books, etc. You spoil us, Joel, you really do…Keep rocking, because nobody has the ideas you have. We love 'em! (someone give this man a book deal.)
Very cool!
you are incredibly creative! This work/game made me think of the Eames' cards or the colors of Alexander Girard!
Joel, I am so happy to have come across your blog. I popped over from Blue Bird Baby after seeing her post about your modern paper dolls. I am the daughter of an artchitect, now grown up with kids of my own. I truely appreciate your mix of design and function in your playful creations. I am so inspired and can't wait to read more posts.
Thanks! Your blog is wonderful and your kids are very lucky!
I've said it before and I will say it again, you are AWESOME!
My 4-yr-old and I made these tonight. He loved it and proudly displayed his creation in his room. A "spaceship" he calls it. Thank you for sharing.
You all are very kind. I'm glad you're trying out the discs! I really do love this sort of toy. Small, recyclable, inexpensive, and fun. I'm really tired of big plastic toys that end up in the garage.
what a great idea – – thank you so much! i look forward to making these with my daughter – and (in future) sharing with friends (gifts/loot bags/etc.). love your blog + thank you for sharing :)
This blog is turning into our home learning finishing off project on a weekly basis…and perhaps I would like a set of my own too :)
These are amazing – again! Definitely going to try these – I'm sure my 14 year old arty son will love them as much as his younger brother and sister. Wonderful ideas and creativity. Lovin' it all Merci!
Superb idea!
Can`t wait for my child to come home from the school… will start making it now :) My daughter can make her set later :)
Brilliant. Thanks for sharing. I love your blog and will start following today;)
Beautiful, must try this!
so simple and so cool! I'm making some for my Sunday School class to fiddle with while they're waiting for the lesson to start.
Fantastic!!! I'm printing these out right now!!
what a fantastic idea!! thank you for sharing
figures. My daughter loves a similar toy at her preschool, so I just bought them for her, or something similar. IF ONLY I had seen this brilliant idea a few days earlier, I would have taken a crack at it. They're out of this world!
I just found you! Linked from Crafty Crow. WOW! I love your concepts for play. You must be one of those very lucky people who will remain always a child at heart. Can't wait to see more!
The printouts would make fun buttons as well.
Thank you for sharing!
Fond memories of sets when my brother and I had rectangular versions of similar…our artist mother cleverly collecting nifty designed cards from the Charles and Ray Eames design folks – available again from http://www.eamesoffice.com. Their slotted card sets also had marvelous photographic images to expand our interests and awareness. Have photos of my then two year old brother completely inside a structure made from the larger set! Great design here…thanks!
Thanks everybody, and yes, I love the Eames' House of Cards! I always wanted a set of those.
"you are a genius" [somewhere up there]
:O
I concur!
Fantastique !
Votre blog est merveilleux, fantastique, inspirant ! Du pur bonheur.
Merci de nous le faire partager !
Je viens juste de découvrir votre blog! Il est merveilleux! Quelle chance ont vos enfants!!! Merci de publier vos "trouvailles". Une question encore: les tee-shirts que portent vos enfants sont très beaux et originaux : est -il possible de savoir où se les procurer? Merci pour tout.
My daughters and I made some yesterday afternoon using card stock and scrap paper. I think they had as much fun making them as playing with them!
Ohhhh, just love 'em!
I've just discovered your blog and I love everything in it : what you create, your original ideas and the general atmosphere of your life and being. You've got a French admiror… Can't wait to see more….
So good idea! I printed out double set, and glued them together, so your nice design is on both sides. I even found an nice hand cream-tin in my purse that fits perfectly! I have not decided if my girls are allowed to ply with it yet…
Great idea! I found you via the Crafty Crow. I made these for our 4 year old and he is very excited about it. Thanks!
i love it! yeah! i re posted this on my blog! i hope you do not mind! i love your site! thanks!
lovely include tin, …and i like your source of inspiration!
Hi Joel – I am unable to print the discs. Will it be possible for you to post a pdf version of the image?
Thanks and amazing STUFF. I am excited to play with myself=)
Sure, if you send me a message through my profile at the very top right of this page, I will be happy to email you a pdf version, or show you how to print a jpeg.
Fantastic!
Many thanks for sharing. I'll try it this week with my 5 years old daughter. I'm sure she'll be delighted.
These are awesome! I'm not only going to make some for my kids, but also for their friends and cousins.
Marie-Anne
I love your site..creative ideas for big & little kids ( I found you reblogged on tumblr!)
A perfect idea. I´ve made a set, and my friend have developed your idea and made her own from postcards. I´ve blogged about it too. I love your smart blog!
brilliant and simple! A joy to read. Good luck with the book, It will be on my wish list.
I love it!!
Beautiful!
Happened upon your blog today..Absolutely genius! So many great ideas. Pure and simple. I just printed this one for my kids and myself! Could you please tell me what kind of candy tin you used? What a perfect on the go solution for boredom! Love, Love, Love it!
Thanks everyone!
Kerry – I think I used an old Forrelli (from Switzerland) tin from their raspberry fruit bonbons, like the kind you find in cigar stores and stuff. I just did a google search but couldn't find any. I know I've seen them around though. At any rate, the tin is almost 3 inches in diameter, so any tin that's about that size should work. Hope that helps!
What a faboulous idea !! I live in France and I've been keeping round camembert boxes in case it might be useful some day … Now, I know what to do with them !! Thanks a lot !
I was doing a search for this building toy when I found your blog. You have made something very similar to the toy we own, but want to buy more of. They seem to no longer exist. They are made of plastic, brightly colored, and are about 1 1/2" in diameter, with twice as many slots around the circle as yours have. Does anyone know the toy I mean?
Amy Mann – Hmmm, I don't know. Sounds cool though.
WAIT! On print preview it says "shrink to fit" Click custom and set it the 55 or it cuts off the corners!
The other thing you can do is select "borderless printing" in your printer's software. (Most printers these days have this option.) Shrink to fit is good too though. Your discs will just print a little smaller, which is fine. Have fun building!
What a great idea! I just stumbled on your blog from somewhere else. I think I'll make some of these with my kids, but let them paint the circles themselves.
Very, very nice!
Thanks so much, Joel! My daughter, who is only sixteen months old, discovered wonderful ways to play with the slotted building discs.
http://montrealzen.com/?p=1692
You're a source of tremendous inspiration.
How did you cut the slots out?
Thanks!
Mitali Ruths – Thanks again for showing me those awesome photos!
janille – I just used scissors. It doesn't have to be perfect.
Thanks so much
fantastic ideas for my photosessions :) thanks
PERFECT IDEA, if you have paper punch, then it's twice easier !
Cool – just made them, which was great after work therapy in itself!! Can’t wait till tomorrow when my son wakes and sees them on the table. Love your work!
Me encantan tooooooodas las ideas que propones, transmiten alegria y ganas de construir objetos ludicos para generar nuevos juegos y jugadores, ¡muchas gracias por tu generosidad en compartirlo!
[…] by Joel ← Slotted Building Discs Art Show […]
[…] Slotted Building Toy — I love how this slotted building toy from Made by Joel (made from cardboard) can be carried in a small candy tin. Perfect for fun […]
Excellent! Just what I’ve been looking for to keep little hands busy.
I love these discs and want to make several sets, but I, too, had trouble printing them. Will try the message at the top of the page for the pdf version. Thanks for a great idea.
Betty – I’m starting to switch all of the printable projects to PDF. It seems easier to print, as opposed to jpeg. I’ll try and update these images later today.
Thanks!
Joel
OK try it now!
[…] Nos ha encantado esta propuesta de Made by Joel, sirve como juego de construcción , como escultura, etc. Esta disponible para descargar e imprimir gratis aquí. […]
[…] a set of building discs from recycled cardboard – a simple homemade […]
[…] Slotted Building Discs papercraft was designed by Joel. You can download the template here: Slotted Building Discs Free Papercraft Download For this paper model, we recommend that you use the material (Paper, Paint, Glue, etc.) to […]
[…] slotted building discs […]
I love this idea and have thought about making these out of plastic lids. Have you tried that yet?
I love making toys, too. We are kindred spirits,
Barbara
RecyclingOT.com
Great idea Barbara – I bet plastic lids would be great!
Yes, making toys is great isn’t it!
ThAnK yOu so much for your creativity! You do fabulous work and are so generous to share it!
Have you encountered any kind of building toy like this before? As a child, when my siblings and I were at a sitter’s house, the sitter had this gallon jug filled with these little plastic discs, with eight notches around the circumference, equally spaced. They were really neat and I can’t recall what they were called for the life of me.
So far, my search has turned up these things, which are kind of similar, although they seem a tad too big.
http://www.mansionathletics.com/combination-set-of-notch-feetems-825-pc-set-cpx-333-toys-building-connecting.html?channelid=GoogleAdwords&gclid=COL7z7K1krkCFbCDQgodqjMA_g
The ones we had were roughly the diameter of a US quarter, and perhaps just a dash thinner, so they were a bit more pliable. If you or anyone happens to recall these and knows where to find them, please let me know. The not remembering is driving me batty.
Ooh man, those do ring a bell. I totally remember playing with some like that when I was a kid. I could ask the question on the Facebook page. I bet someone would know the name of the ones you’re talking about.
[…] – circle construction (idea from here) […]
[…] Slotted building discs by Made By Joe. This is another DIY of a product we’ve purchased before – download the free […]
[…] Slotted Building Discs (with free printable) from Made By Joel (Pin it here). […]
[…] Make your own Slotted Building Discs. […]
[…] Convidar-los a reproduir la seva obra amb aquest descargable gratuït de “Made by Joel”. […]
[…] Invitarles a reproducir su obra con este descargable gratuito de “Made by Joel”. […]