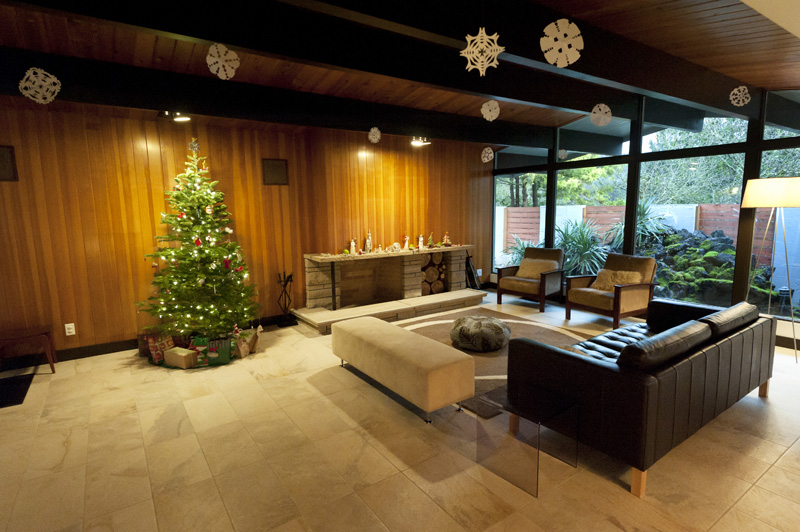
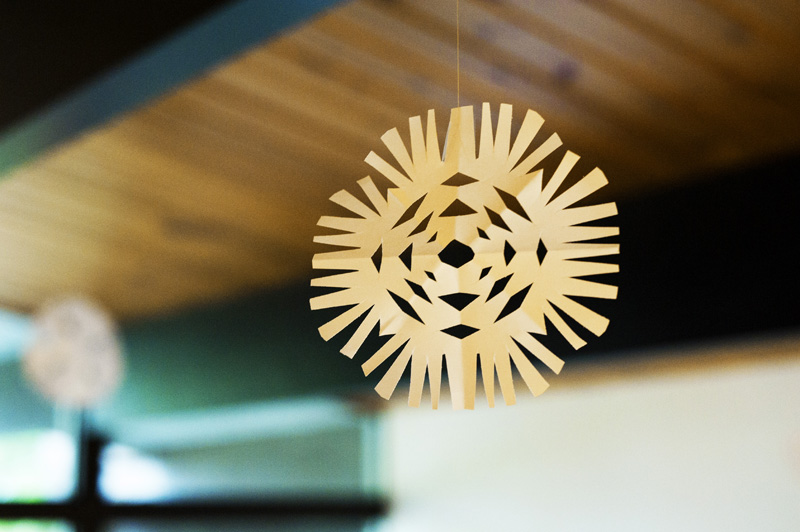
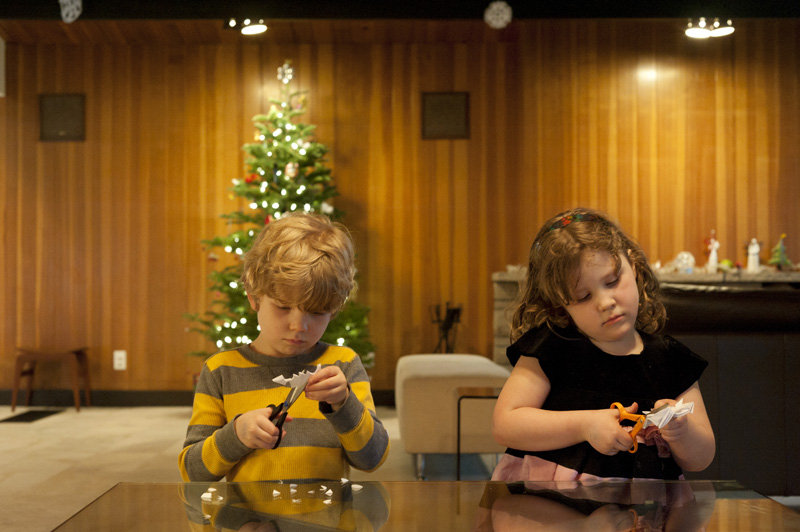
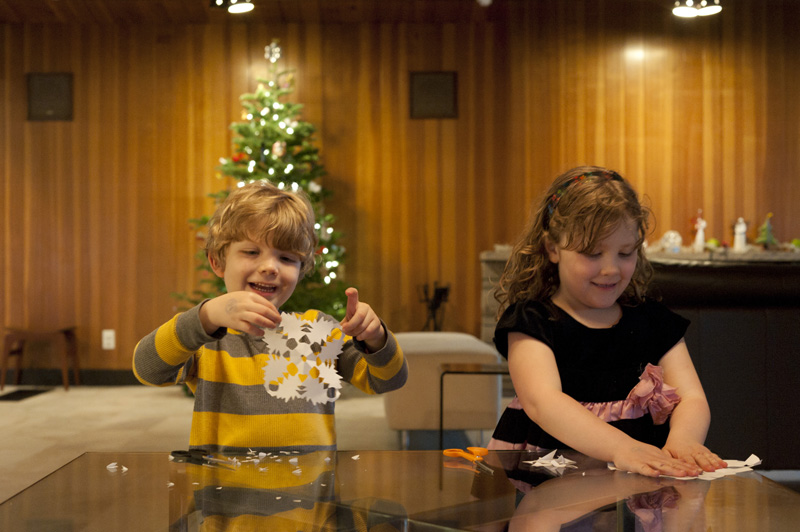
This week, the kids and I had a fun time making paper snowflakes to hang in the living room. They were so excited to create more winter decorations for the house! They loved cutting them out, but hanging them was even more exciting. The kids were cutting thread, handing me tape, and following me around with the step stool. When finished, it really made a great winter wonderland effect! I definitely recommend trying it out.
I’m sure you all know how to make paper snowflakes, but there are instructions below if you’d like. With kids, I usually do 4 pointed snowflakes, as opposed to 6, because it’s easier for them to cut through the paper layers. However, I’ve never seen a paper snowflake that I didn’t like!
For our snowflakes, we did large ones with full sheets of paper, and small ones, with half sheets of paper.
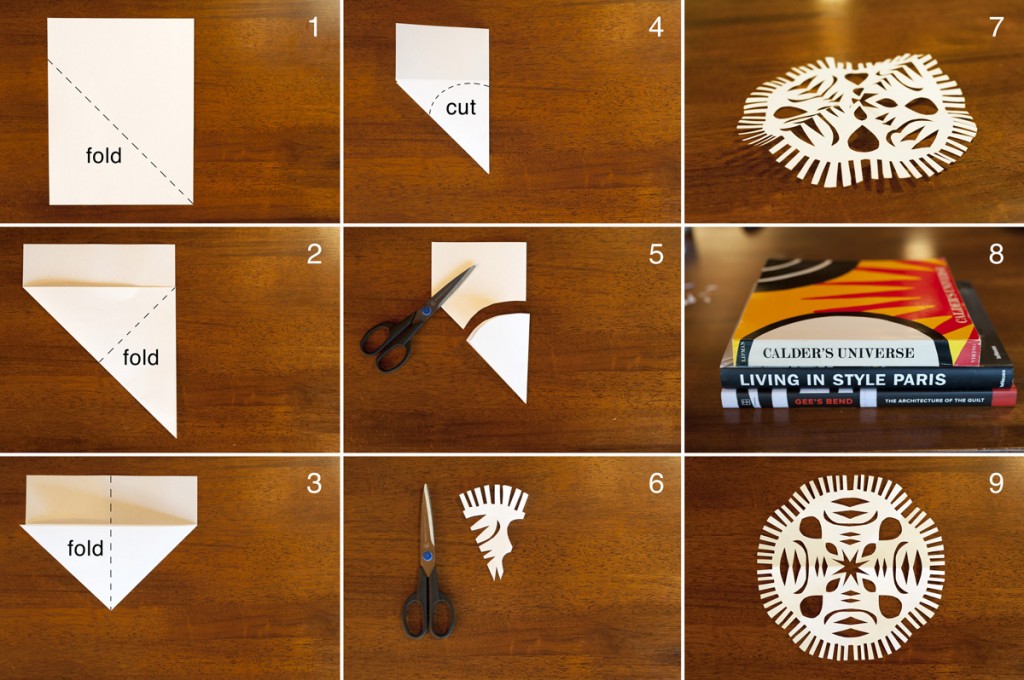
See photo below for instructions.
1 – Fold bottom left corner up to the right side of the paper edge.
2 – Fold bottom right corner up to the left side.
3 – Fold in half down the middle.
4 – You’re going to cut off the bottom tip, where all of the folded paper is. You can do a rounded edge, or straight cut, or angled cut. Each will make a different snowflake shape.
5 – Cut the bottom tip off.
6 – Now make whatever decorative cuts you’d like. Experiment with all ideas you can think of!
7 – Unfold the snowflake!
8 – Flatten under some heavy books. (optional)
9 – Finished! (We hung ours from the ceiling with thread and clear tape. Fast and simple!)

gorgeous living room!
No TV??? Congratulations!!!
Thanks! Yeah, TV is in the garage. Nice! (We mostly use our computers anyway.)
Beautiful. Here is a fun opportunity to share snowflakes with the kids in CT if your kids are up for making a few more. http://www.ctpta.org/SANDY-HOOK-FUND.html
Yes! That’s such a great idea.
[…] sure to head on over to Made by Joel for his full instructions. Love that guy! photo credit: Made by […]
[…] Hanging Paper Snowflake from Made By Joel […]
I like to iron my snowflakes to flatten them, takes just a couple seconds!
laurie
Thanks everyone!
Great idea Laurie, I’m going to try that next time!
Hey Joel, Great snowflakes man! Nice little refresher. We didn’t make them as it’s Summer here but will totally have a go at them in Winter. Also, LOVE the moss covered rock garden out the window. Nice!
Thanks Pete! Yeah, I’m jealous of your warm weather. It’s freezing here now!
And yeah, all that moss covered rock stuff is supposed to be a fountain. Would be really cool to get it going someday!
Look wonderful! You don’t do them for Easter? Maybe it’s a specific Danish tradition (I’m from Denmark). Children do these “snowflakes” when it’s Easter and then write a little poem (certain easter-poems) on and sign it with dots; one dot for each letter in his/hers name. The receiver of the letter must guess who sent it or the sender can ask for a chocolate easter-egg. Ok, sounds strange when I’m writing it down, but is a long standing tradition dating back to 1600 where the letters were used as a flirt between young people. :)
Here there are wonderful things! I hope to see more soon :)
My kids are just the same age as yours. Hope this great website will live long. Years of fun ahead of us!
I was inspired by this pic to hang all the snowflakes we had been making out of coffee filters on the rafters of our living room. Instant magic! Thanks for the idea.
This is lovely! Such a great idea! I can’t wait for my daughter to grow a bit more & enjoy this hobby! Great photos!
Zoe xxx
Zapraszam na stronę Polską
http://chomikuj.pl/zygela/Prace+z+papieru/Wzory+na+serwetki*2c+gwiazdki
Jak miło, że ktoś tak jak my nie ma telewizora.
Mieszkam sama z chłopcami bez telewizora i jesteśmy szczęśliwi. Telewizor mamy gdzieś w kartonie na strychu :-)
Szkoda czasu na telewizję gdy można zrobić tyle pięknych rzeczy które cieszą. Wystarczy nam internet.
życzę wszystkiego dobrego.
Excellent site. Plenty of helpful information here. I am sending it to some buddies ans also sharing in delicious. And certainly, thanks to your effort!
[…] Zdroj: madebyjoelZdroj: inspirationforhomeZdroj: lapbooklessonsZdroj: inspirationforhome […]
[…] your kids feel like crafting some snowflakes of their own, here’s the paper snowflake how-to I made last […]
[…] and start carving out a few snowflakes of your own. In anticipation of this crafty craving, Joel posted a how-to link on his blog which features easy snowflake making instructions for kids (and their […]