I recently finished a unicycle embroidered shirt. And some of you on the Facebook page requested a template. So here it is!
If you’ve never done embroidery before, here is a simple tutorial. It’s fast and fun!
Happy stitching!
Click on the image below, then print.
(Note – I used almost all backstitch for this project. Also, the size of the design on my shirt was 9X12 inches, which a little larger than the printable.)

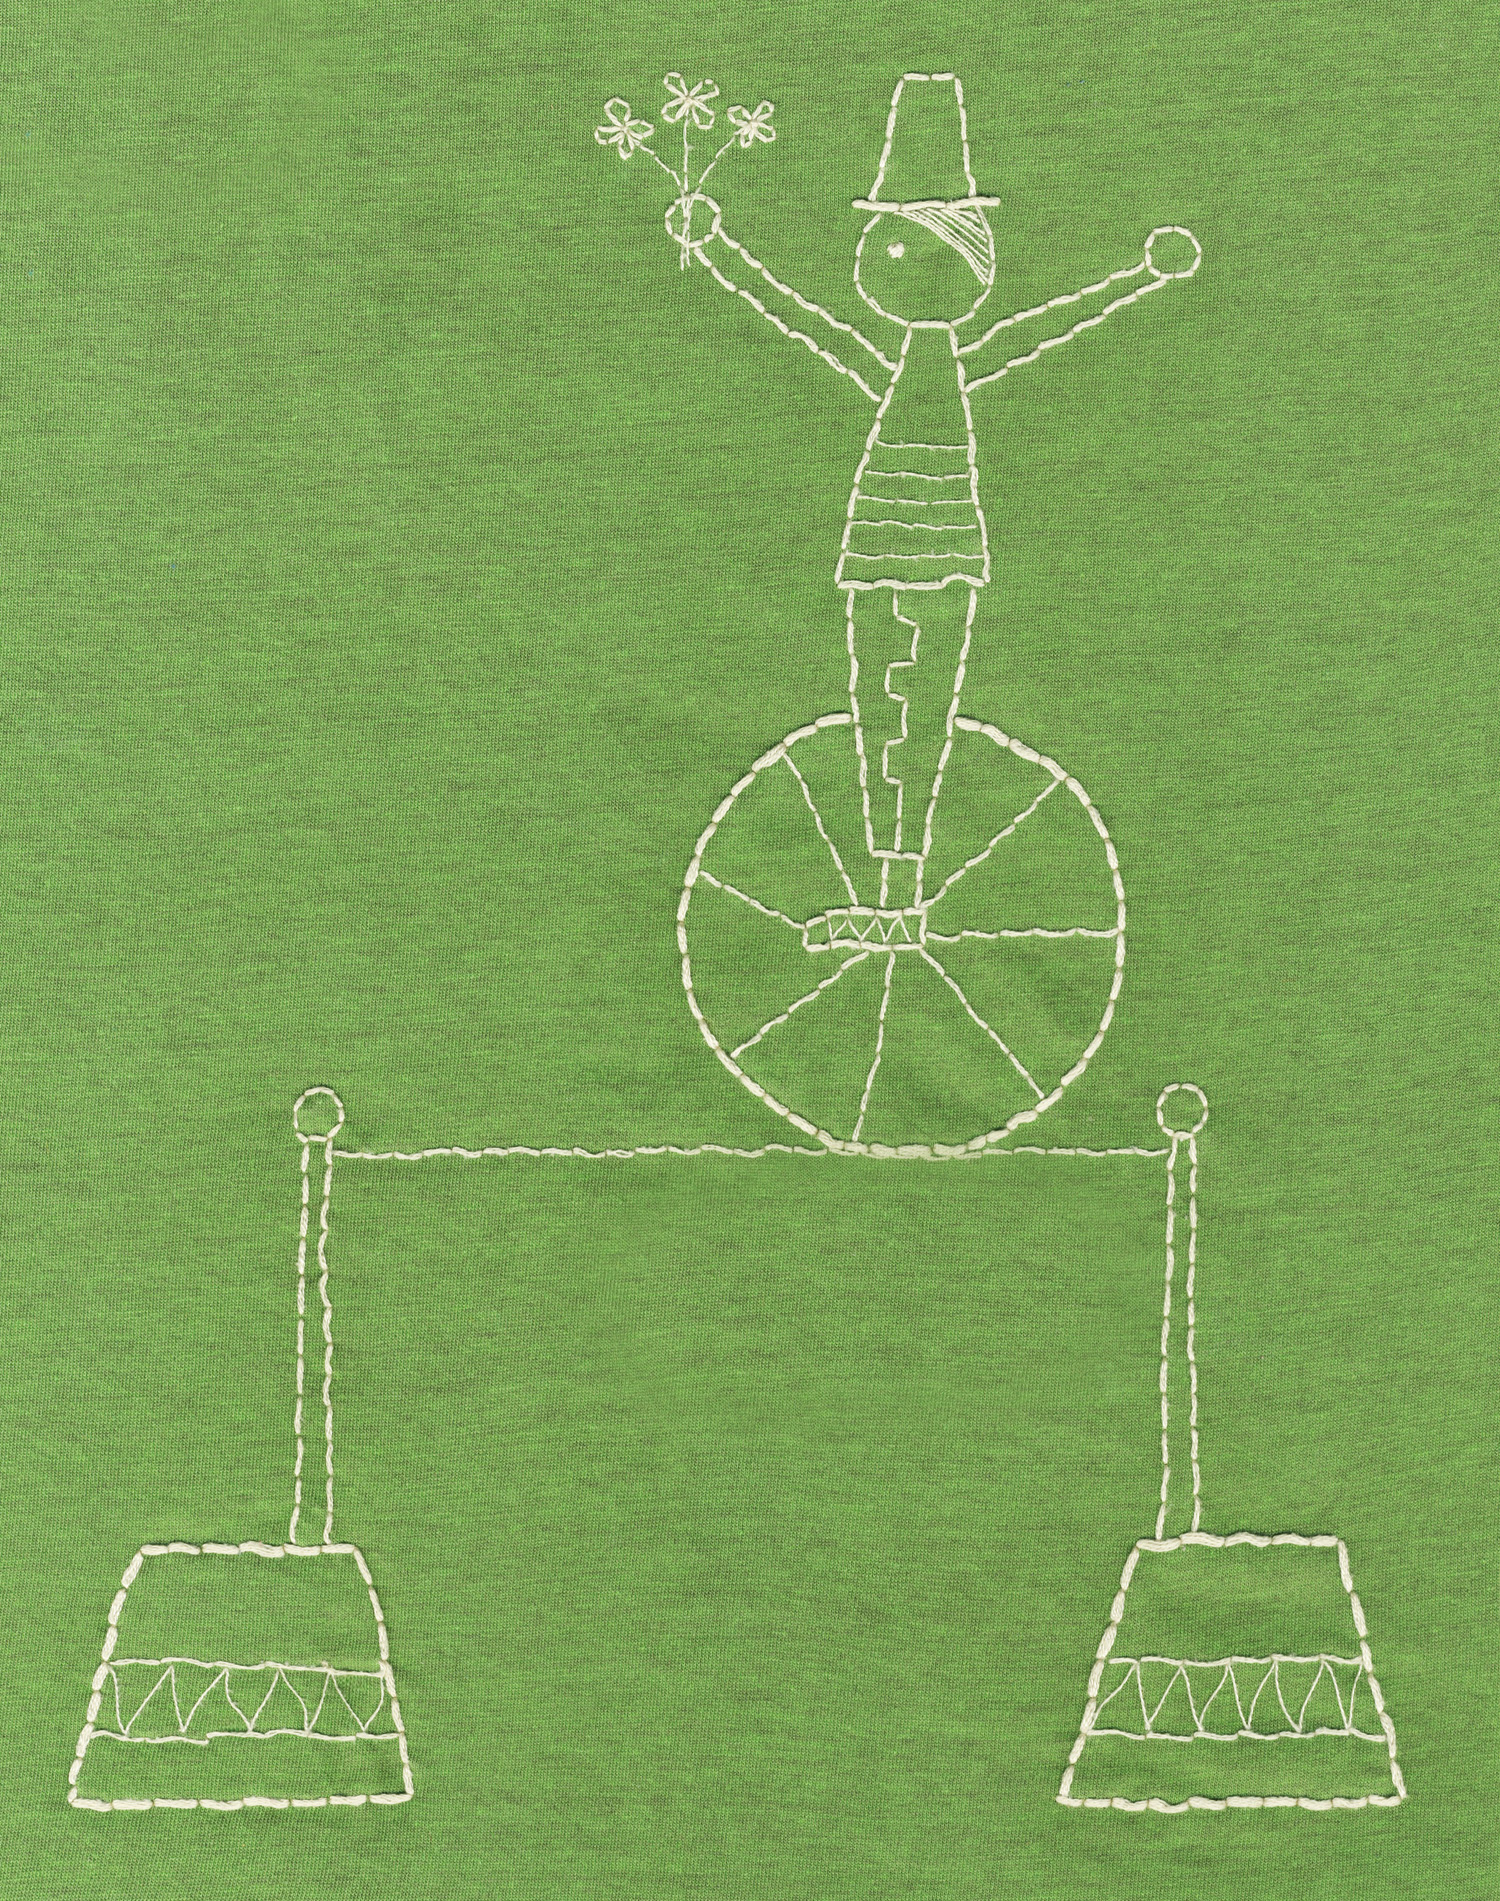
If you want a closer look at the actual embroidery, click on the image below to enlarge.
I love it! I am just wondering, did you use anything to stabilise the knit fabric and did you put it in a hoop?
Thanks. I’ve never used stabilizer, but I know it helps. If you don’t pull the stitches too tight though, it works out just fine. And yes, I used a hoop. It was smaller than the design, so I had to move it around a few times. When putting the tee shirt in the hoop, I pull the fabric so it’s flat and more or less tight, but not stretched. Hope that helps! Also, this is a much larger design that I’ve ever done. I mostly do little designs like owls etc.
Thanks Joel! I will have to just give it a try. I have done plenty of embroidery on cotton fabrics (and have stitched them as patches onto t-shirts) but have never embroidered directly on the shirt. Going to try it for sure!
Oh yeah, you’ll do great for sure then. I’d just go for it without the backing.
That’s too awesome! Thanks for sharing! :)
This is fantastic! Is it okay if I use your dot-to-dot bird designs for something similar? I wouldn’t sell it; just make it for myself.
Yes, of course! A lot of people also use my coloring sheets, too.
You are easily one of the most creative people I know (of). :) I’m always inspired by everything you do!
[…] Read more… […]
[…] First up is this sweet Circus Unicycle embroidery pattern, from the blog Made By Joel. […]
This is one of the coolest t-shirt I have seen for a long time. Will probably make one or two for my kids and myself. I am new at embroidery and was reluctant to try a design on a sweat shirt but your post gave me confidence and inspiration, thanks a bunch :)
Thanks! Yeah, it’s a great easy way to turn an plain shirt into something special!
Our neighbor girl is a unicyclist and this will be a perfect birthday present – thank you!!
Ah cool! Yes, that will be perfect!